First step is to select a stone. Cabochon stones have a domed surface with a flat bottom. For this tutorial, I have selected an Ocean Jasper free-form cabochon.

Next, using fine silver bezel wire, shape the wire around the stone with your fingers. If the wire is not soft enough for this, you may need to anneal it. Alternatively, you can measure the diameter of the stone with masking tape to determine the length of the bezel wire needed. Cut with flush cutters. The bezel should be sized just a hair larger than the stone.

Trim any extra height from the bezel with non-serrated snips. In a pinch, I've been successful using Fiskars sewing shears...


File both ends flush so that the ends meet up perfectly. No light should shine through the seam.
At this point, it is not important if the bezel is the same shape of the stone - getting a proper join is the key, shaping will come later.

Solder joint with a tiny piece of Hard solder, applied to the inside of the bezel. Use a medium sized bushy flame, and heat the piece evenly. Pickle, rinse.

Next, shape the bezel by pushing it over and around the stone with your fingers. The stone should not be tight inside the bezel, it should be easy to place and remove the stone from the bezel. If it is too tight, it can easily be stretched with a rawhide mallet over a ring mandrel. If it is too loose, the bezel can shortened by removing a small length of the bezel wire, and re-soldering.

Sand both edges of the bezel wire smooth and flat with fine grit sandpaper (300 or 400) on a steel block. Make sure to use even pressure while sanding in a circular motion.

Check the height of the bezel with the stone in place. On the right side, the bezel is the perfect height - slightly taller than the shoulder of the stone. On the left side, it is slightly taller due to the free-form shape of the cab. Due to the free-form shape of the cab, the bezel wall is a little tall on this side. This can be sanded down, but I chose to leave it tall to match the free-form style of the piece. However, if it is too tall, crinkling of the bezel will occur. Knowing the right height will come with practice.

Cut a piece of sheet metal for the base of the bezel. Stamp any logo or signature before soldering the bezel in place.


Set up the bezel on a tripod and screen - this will allow you to heat the piece from below. Solder the bezel to a flat piece of sterling silver using 3 or 4 small pieces of Hard or Medium solder. Heat mostly from below to avoid melting the bezel. Pickle, rinse.


Using a jewelers saw, cut away the remaining silver sheet from around the bezel cup. File and sand the bezel cup - finish with 400 grit sandpaper.
Attach bezel cup to ring base or other component for your piece of jewelry. A jump ring for a bail of a necklace, pin back for brooch, etc.

Bezel cup attached to ring base, before pushing bezel over stone. Make sure stone sits flat in bezel and double check the bezel wall height. Bring ring (pendant, brooch) to a final finish at this point, finishing all filing, sanding, and polishing before setting the stone.

Begin folding over the bezel with a burnisher or bezel roller. I find it easiest to start at any corners or tight round edges first, leaving flat sides for last.
If setting a round stone, use the cardinal directions as starting points - N, S, E, W. If you work your way N,E,S,W, you will end up with "too much" bezel wire all bunched up.


Once the bezel has been pushed down over the entire piece, begin burnishing the bezel over the cabochon. It is extremely important that your burnisher is perfectly smooth and shiny. Any scratches or dents will show up on your finished bezel, and are not fun to sand out. Burnishing should be the last step to finishing the bezel, no sanding should be necessary.
Continue burnishing the bezel over the stone to work-harden the metal, making sure the stone stays in place, as well as makes the bezel nice and shiny.

Finished design after applying Liver of Sulfur patina. Note: Many porous or delicate stones can become damaged if submerged in a patina solution. You can avoid this damage by applying the patina before setting the stone. A few stones to be cautious with include, but are not limited to: pearls, mother of pearl, opal, turquoise, malachite, lapis lazuli, coral, emerald, aquamarine, amber, jade, shell, and ivory.

![[Most Recent Quotes from www.kitco.com]](https://lh3.googleusercontent.com/blogger_img_proxy/AEn0k_uI_ABdIn_4kQf8f9BinLiQEPt3BSRkVi0mTfPUXiX2pBUvC5sfoV_L2kE8etNCf3CNYUI5tjR9C2eHRgt2QeLrHH21fKcdlUZ9waAqrkVMspMkyn4=s0-d)


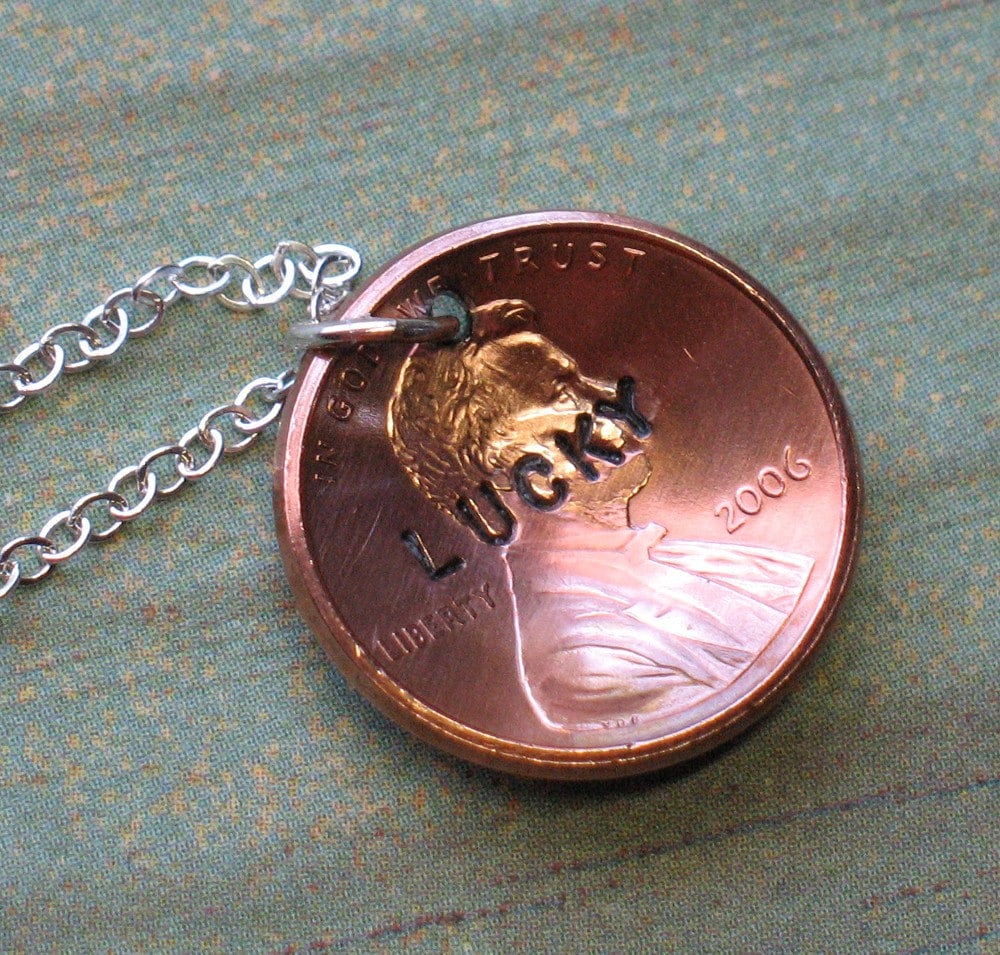
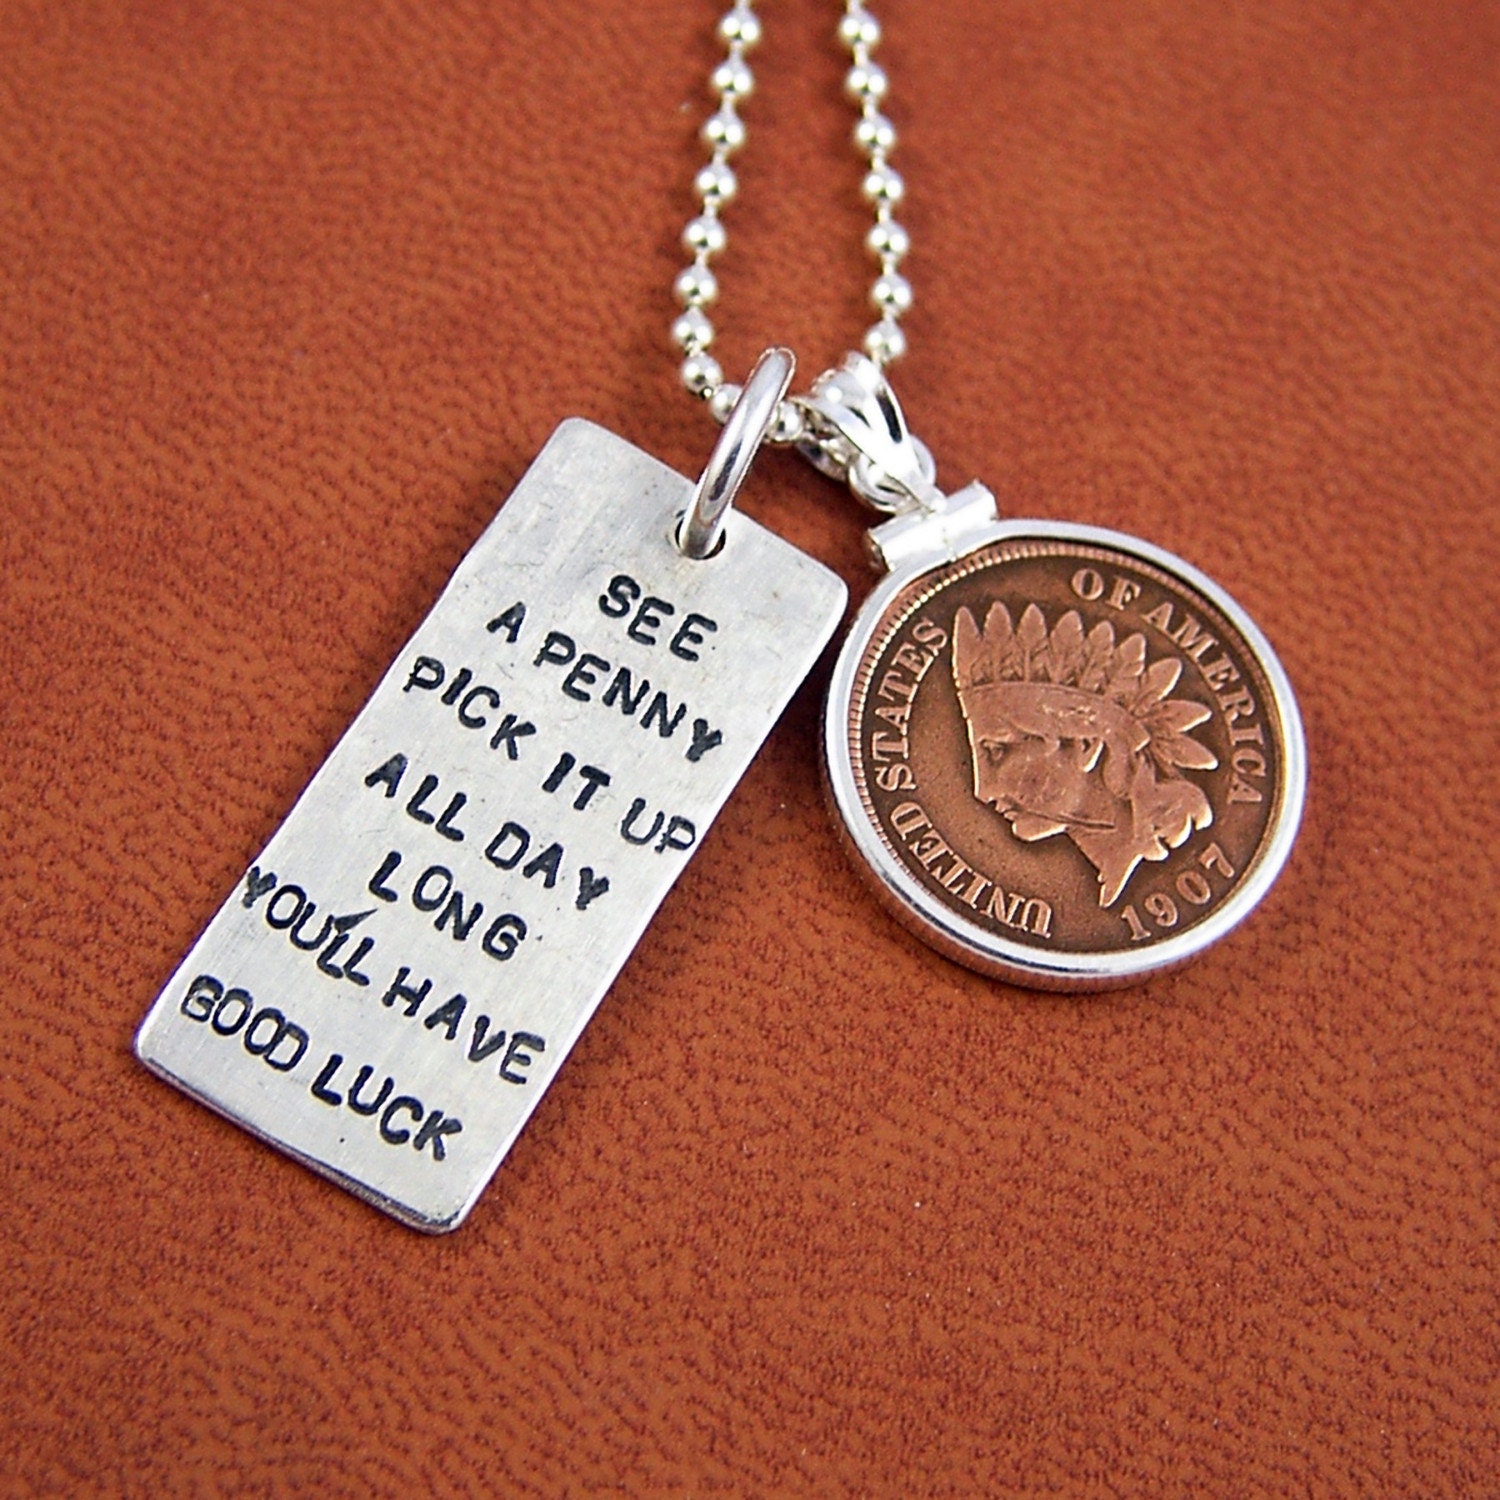
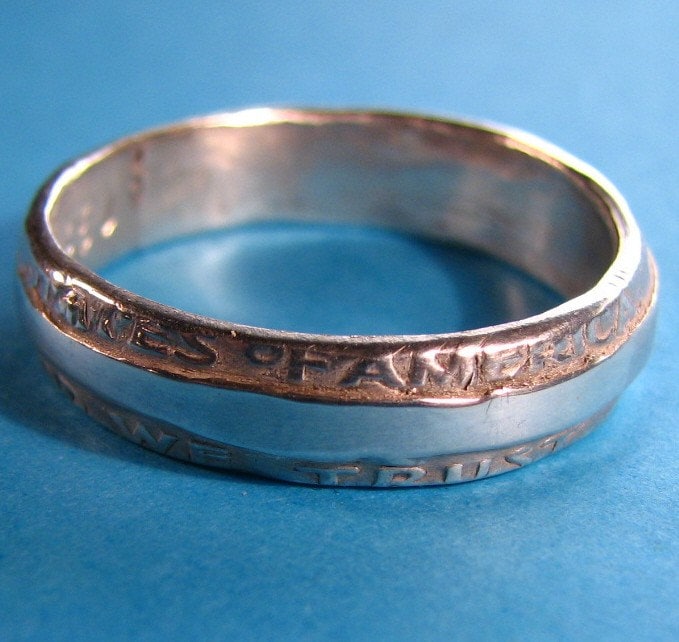
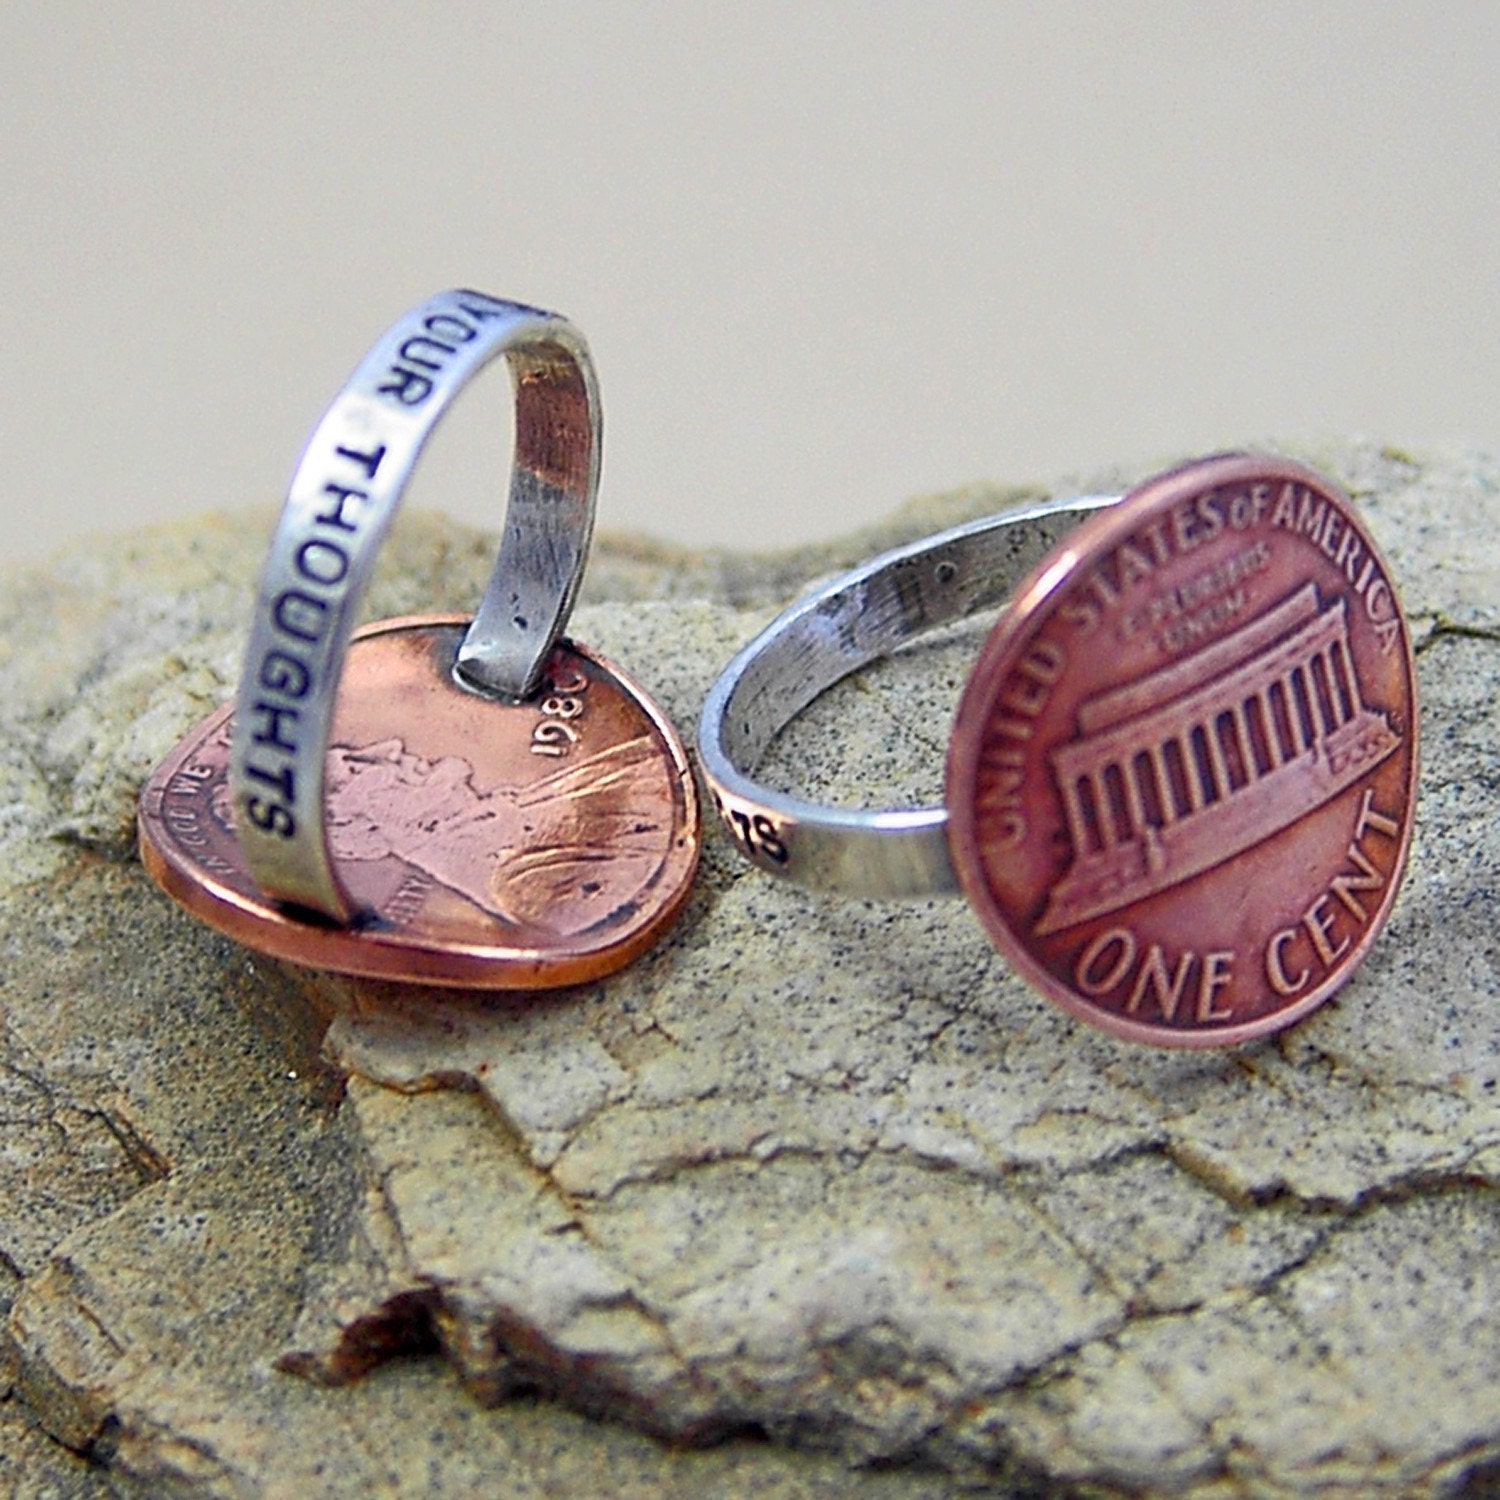 Many people are concerned that defacing a coin for use in jewelry is illegal. This is false. Defacing US currency is illegal if the intent is to pass it as legal tender after it has been altered. These laws are used against counterfeiting, and do not pertain to those who wish to make something else entirely out of the currency, whether for sale or not.