Hi, I’m Sue from the Etsy Metal team. I’ve been asked to share a little tutorial I wrote on how I work with resins. If you would like to see some of my finished resin pieces, you can find them at my Etsy shop at
http://lsueszabo.etsy.com. I use Colores brand resin from Rio Grande, and all resins react uniquely, so please do not universally apply my techniques without understanding the brand of resin you are using.
STEP ONE: Prepping Your Work AreaI assemble everything I need first, because once the resin is mixed you will have limited time before it gets sticky and too hard to pour. You will need a dust free environment in which to work. I cannot stress this enough. It is maddening to find a piece of dirt or a cat hair on the top of your resin that you worked so hard on. Some people use cardboard boxes on their sides to cure resin in. I have a special place designated for resin work in my home. No kitties allowed.
Cover your work area in wax paper. Resin will not stick to wax paper and this will protect your work surface from sticky messes. You will want to have on hand your resins, hardener of choice, stirrers, measuring cups, applicators and tips, tweezers, straight pins, paper towels and isopropyl alcohol. The alcohol is for clean up.
Here's a picture of my work area and prep.

OK, now we are ready for
STEP TWO: Mixing the ResinsBefore you mix your resins, lay out your pieces to be filled on a flat pan that will go in your oven (a
cookie sheet is ideal). You should use a toaster oven dedicated to this purpose and not your regular oven. I line the pan with parchment paper in case any of the resin overflows. Do whatever is necessary to keep your resins as level as possible. You can see that I use small baking tins filled with beans to keep rings and 3D objects level. Today we are also doing an open 2-sided piece, a pair of earrings. These must be sanded flat before you pour the resin into them or they will leak. Once flat, I will adhere them to a piece of double sided tape. The tape will prevent the resin from leaking out the back of the
open bottom.

All resin must be mixed. There is a resin component and a hardener. The only thing that varies is the hardener. If you are planning on sanding your piece flat during finishing, you MUST use the hardest hardener called Durenamel hardener. If you are not going to sand the piece you will use a thinner hardener or a doming hardener. Today we are using Durenamel because I like the look of flat matte resin.
I choose my colors and pour the resin first into the measuring cups. I let it settle to be sure it’s been measured properly. The ratio is always 2:1, resin to hardener. Accurate measuring is the key to success! Your resin will never harden if it is not properly measured. I try to make several pieces that will use the same colors so that none will go to waste. It does work better if you mix at least 15 cc of product so you will have enough to fill several pieces. You may use resin colors directly from the jar or custom mix them. I am doing both today. You always mix the color using the resin only. Once you are satisfied with the color , then you add the hardener. It is important not to mix a lot of air bubbles into this when you mix your resin and hardener together. Fold them gently, like making meringue. Once you have mixed the 2 parts, you have about 30 minutes of work time. I transfer the mixture from the measuring cup to an applicator bottle- you can attach a needle to this if you need to apply resin to a fine area. Let’s look at some photos before we move on...
 STEP 3: Pouring the Resins
I pour one color at a time, then mix the next one together and pour that one, etc. This is why it is
important to have all the pieces ready to be filled. I use the squeeze bottle applicator technique but do whatever works the best for you. I start by outlining the edge of the space to be filled, then filling in the middle. Resin has a nasty tendency not to want to cling to the walls and if you are going to develop air bubbles, they are

often around the edge. If you start by filling the outside first, there is a better chance this will not happen. It is better to underfill than overfill. Colors bleeding into unwanted areas is a much bigger problem to deal with than having to sand it a bit more. Now, before your resins get too hard to work, put everything, applicator and all in a freezer bag in your freezer. You’ll find out why soon enough.
Once all your colors are filled it is time to deal with the dreaded air bubble! Everyone seems to have their own little tricks to deal with them but here’s what I do. I first gently breathe/huff on the pieces. Gentle breaths, you’re not the big bad wolf! This will break many of them. The others I break with the straight pins or tweezer tips. There is still no guarantee that you won’t uncover more bubbles you didn’t see as you sand the piece but I’ll tell you how to deal with that later.
STEP 4: Hardening the ResinsIf you use durenamel hardener, you MUST bake it to cure it. It goes in a 150 F degree oven for 3-4 hrs. The other hardeners can be either oven cured or air cured. I check the resins about every 5 minutes for the first half hour. You will see air bubbles starting to rise and form during this crucial period. Do not plan on going anywhere at this time. The resin is now getting sticky and popping the bubbles gets a little tricky. Once the resin is too sticky to work, don’t pop any more. You will have to deal with them.
STEP 5: Finishing the ResinsOnce they have baked and are cured, I will sand them. I use 220 grit sandpaper to start. They should be sanded wet as resin dust will get everywhere and in your lungs. Wear a respirator or mask. I sand up to 600-800 grit depending on how fine I want the finish. Now inspect your work. You will often find tiny air bubbles and pockets that did not fill. This often happens in very finely detailed areas. If possible, just keep sanding to the bottom of the bubble. Sometimes the bubble is just too deep. It is better to try to fill it. Here is where that extra resin you stored in the freezer comes in. Take out the resins and let them thaw. This will take 20-30 minutes (about). I use a toothpick or a straight pin to take some of it out and fill the bubbles. If you are using resin color straight from the jar, you do not have to do this, you can just mix up a new batch if you like. If you have custom mixed your color, you will need to do this as you will
never get an exact match if you try to mix it again. I now re-bake it for 3 hrs at 150 F degrees and sand again. If you still have air bubbles that are not filling, you need to “un-roof” them. I use ball burrs to grind the resin out a bit and make the hole more shallow and wide. Refill them and repeat the process.
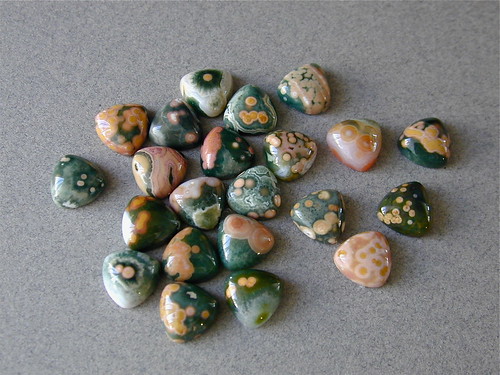
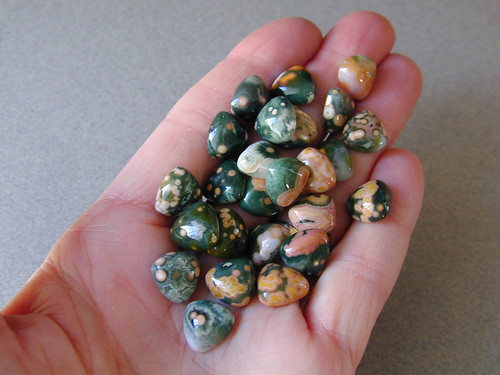
STEP 6: ADMIRE YOUR WORK!

![[Most Recent Quotes from www.kitco.com]](https://lh3.googleusercontent.com/blogger_img_proxy/AEn0k_vfbplchQCNG0wLWA14eCr2ic-BSZc0ZIDbrG3-xbLgcZuqGQSr1tKzpqpEvdWiQA792awoaiMPPbvQX7viEhrHK0iwOqFTG53mKIEU2C1lc3JuDcE=s0-d)


